


How do I allow BookNook to access my iPad’s microphone and camera?
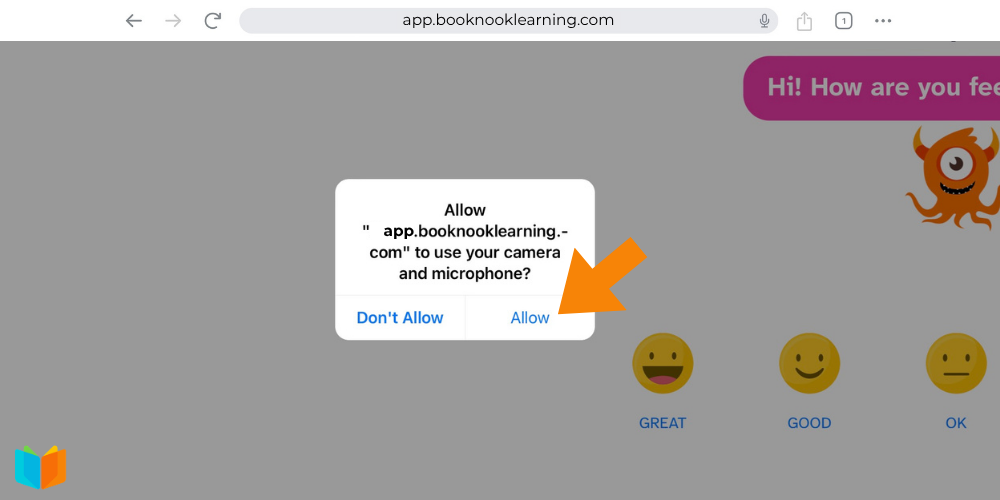
When joining a session on an iPad, students will see a pop-up asking for permission to use the camera and microphone. Students will need to tap Allow in order for their tutor to see and hear them.
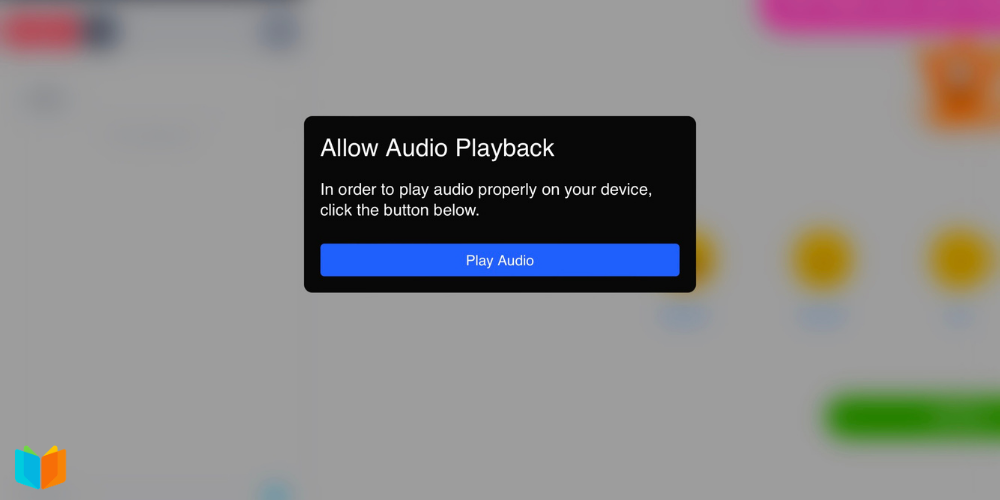
Students will also need to tap Play Audio if prompted for audio access.
Permission requests may look slightly different depending on the browser used. Chrome is BookNook’s preferred browser.
Troubleshooting – Try this First:
“I can’t see or hear my tutor”
If mic and/or video permissions are denied and students enter the classroom without giving a needed permission, mic and/or video will be disabled.
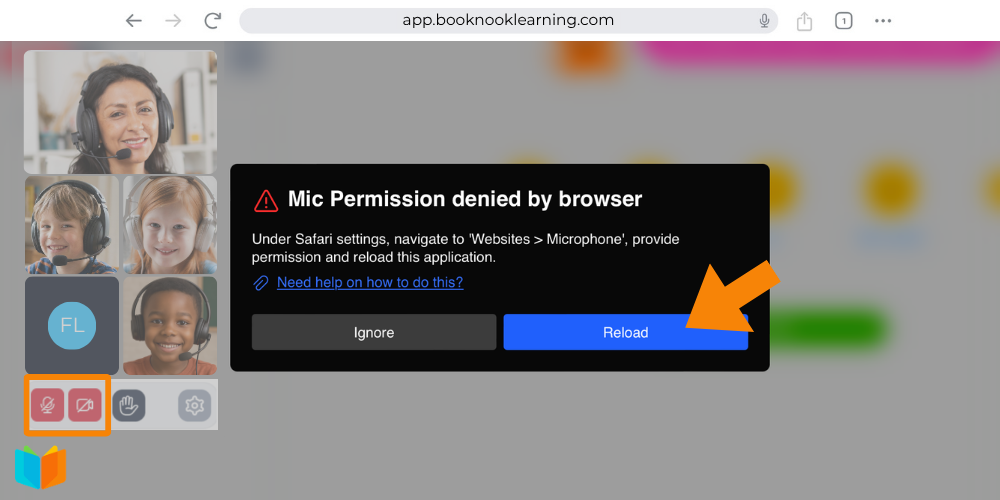
Reading Classroom
If students are joining a Reading Session, their mic and camera icons will be red with a slash. Tap either icon to view a pop up. Tap the reload button and select Allow when prompted to give permission.
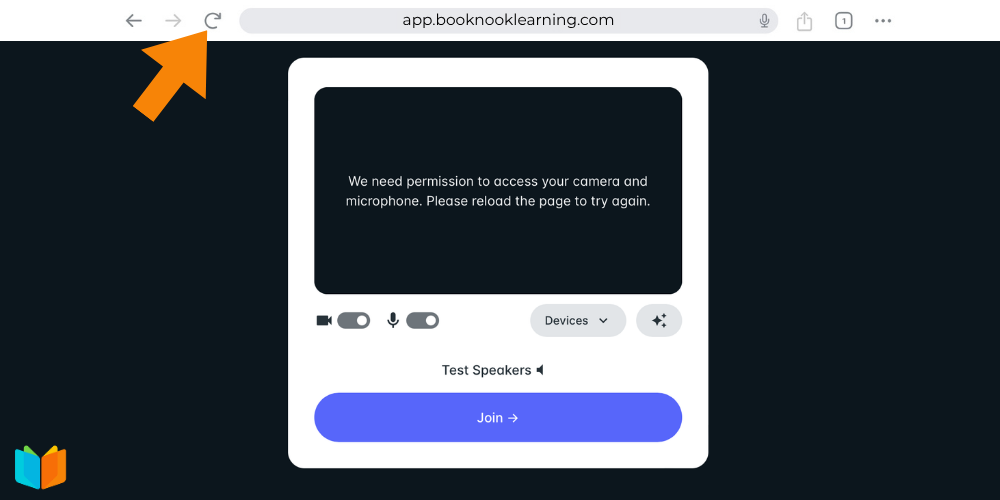
Math Classroom
If students are joining a Math Session, students may use the reload icon in the browser bar at any time to reactivate the permission prompts. When the pop-up message appears again asking for permission to use the camera and microphone, tap Allow.
Additional Troubleshooting
If the above does not work, there may be additional permissions needed. Try the following:
Step 1: Check the Browser:
If using Safari, the permission might be blocked at the website level.
- Look at the Address Bar at the top of the screen.
- Tap Website Settings.
- Ensure both Camera and Microphone are set to Allow.
Step 2: Check iPad System Settings
If the browser has permission but still isn’t working, the iPad’s privacy settings might be blocking it.
- Open the Settings app (the grey gear icon) on the iPad home screen.
- Scroll down the left-hand menu and tap on the browser used (Chrome or Safari)
- Scroll down to the “Settings for Websites” section.
- Tap Camera and select Allow.
- Tap Microphone and select Allow.
Step 3: Privacy Settings
Finally, check the global privacy settings:
- Go to Settings > Privacy & Security.
- Tap Microphone – make sure the switch for the browser is toggled ON.
- Tap Camera – make sure the switch for the browser is toggled ON.